
5 Steps to a Successful Wash and Go on Type 4 Hair
The Wash and Go can be a low manipulation hairstyle that allows you to sport your natural curls effortlessly, even if you have type 4 natural hair. In this post, you’ll find five steps to a successful wash and go.

Before sharing the wash and go steps, I’m letting you know up front that this article isn’t about using specific hair products. It’s about perspective and technique. Success for one person may be a fail for another. I write from the perspective of a fine hair natural with predominantly type 4a hair.
Also, before you even start doing your wash and go, you want to make sure you’re working with a clean slate. By that I mean, your hair should be in good condition. For example, neat ends that aren’t weathered.
Otherwise, your results won’t be optimal.
1. What’s The End Goal?
To achieve a successful wash and go on your type 4 natural hair, you need to first define what a successful wash and go is to you. What are you looking to achieve?
Do you want more volume? Definition? A combination of both?
2. Select Your Wash and Go Products
Once you’ve determined the end result you are looking to achieve when doing your wash and go, it’s time to scout out products.
There are myriad products for defining curls available on the market. Some contain protein. For those of us with fine natural hair, these types of products can be beneficial.
Soft Hold for Volume
If you’re looking for a soft hold wash and go, you want to use light weight stylers like creams and lotions. Some ladies even use conditioner only to set their wash and go’s. A conditioning product will provide a softer hold.
Soft holding products will help you achieve more volume but the definition won’t last as long.
Firm Hold for Definition
For a longer lasting wash and go with more definition, you’ll want to use products that provide more hold. These include gels and mousses.
Layering gels and/or mousses over a conditioner will provide a firmer hold. You may not get as much volume but you’ll have plenty of definition.
3. Pick Your Wash and Go Technique
Once you have your choice products, revisit your goal to determine the technique you will use to set your wash and go. Here are the popular techniques used to set a wash and go hairstyle:
- Rake and Shake Method – Raking product through your curls and holding the ends while shaking.
- Shingling – Using your fingers to manually define each curl unit as they naturally fall
- Praying Hands Method – Distributing product onto your curls by using the palm of your hands in a praying motion
- Scrunching – Applying product to your hair and encouraging the curl by scrunching from the ends toward the roots
Regardless of which method you use, always work in sections. I like to clip my hair in 4 sections but if you have very dense hair (even fine dense hair), you’ll want to section your hair off in even smaller sections.
The key is to sufficiently cover your strands with product.
For an in-depth look at these techniques, hop on over to YouTube and you’ll find a number of tutorials for each of them. Don’t watch too many and skip the extremely long videos. Otherwise, you may get information overload. I suggest watching 2 of each tutorial type to get a full picture.
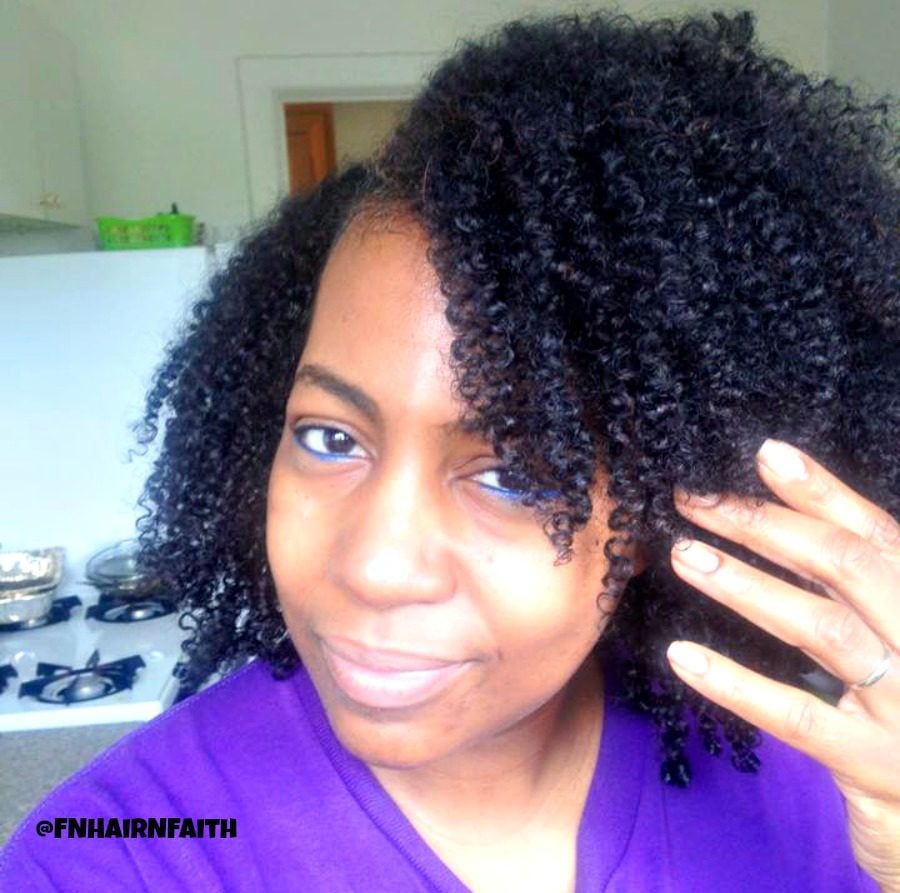
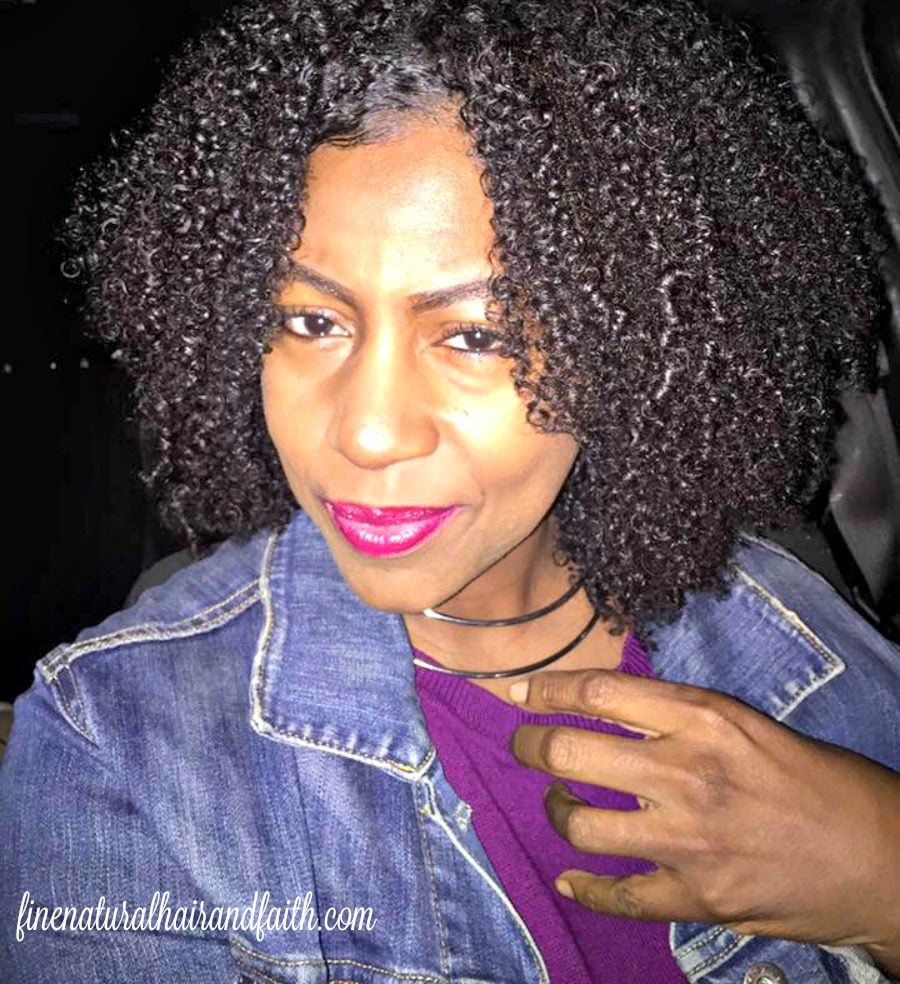
Below is a demonstration of one method of me doing a wash and go many years ago. The result is unlike any other because results always vary by technique and products used.

Here is a more current wash and go technique (as of 2026)
Wash and Go Demonstration on Fine Natural Hair

4. Drying Your Hair
Then, for you to have a successful wash and go, the next step is to dry your hair.
Will you air dry or use a blow dryer? Each drying technique has its pros and cons. Again, it’s all on what you’re looking to achieve.
Air Drying
When you air dry your wash and go, you’ll get lots of shrinkage. You can combat that by stretching your hair. However, the curl pattern will not be the same as if you air dried your hair completely unbothered.
If your hair is fine and on the lower density side, you may have lots of definition but little to no volume. Plus, air drying allows water to remain in the hair strand for longer than recommended. It’s best to partially air dry and then dry the rest with a warm dryer.

Concentration Drying
Your blow dryer with a concentrator nozzle attached or as is without a comb/brush attachment can be used to stretch your curls at the root and along the hair shaft.
However, if not careful you will sacrifice texture for elongation.
Diffuser Drying
Using a diffuser attachment on your dryer to dry your hair can amp up the volume while maintaining definition.
Reverse Air (RevAir) Drying
Using the revolutionary reverse air hair dryer, RevAir can stretch your wash and go curls faster than any dryer on the market. What’s really cool though is how you can also achieve an entirely different look.

5. Styling Your Wash and Go
After deciding on which technique you are going to use to set your curls, there are some additional ways to style so you can put the “extra” on your wash and go style. These include, but are not limited to:
- Laying your edges
- Banding wet or dry hair to combat shrinkage
- Adding Temporary Hair Wax Paint
- Adding a few twists to the front or sides
- Using tools like a Puff Cuff to lift your curls up off your shoulders


Protect Your Length: Wash and Go’s and Fine Hair Breakage
A defined wash and go is only a win if you keep the length you worked for and this is where fine hair needs extra care. When your hair dries in that shrunken, coiled state, strands can wrap around each other and form little single-strand knots.
On fine hair, those knots and the tangles that build over a few days set you up for breakage, especially when it’s time to take the style down or detangle for your next wash day.
The style itself isn’t the problem. It’s what happens around it: going too long without moisture, a rushed take-down, skipping the deep conditioning process, or sleeping on your curls without protecting them. Any one of those can cost you length while your curls still look good on the surface.
If your fine hair keeps breaking and you can’t pin down why, you don’t have to guess.
Not sure what’s causing your breakage? Take my free Breakage Detective — it walks you through the most common causes for fine natural hair in a couple of minutes, so you can fix the right thing.
Take the Breakage Detective → https://finenaturalhairandfaith.com/hair-breakage-detective/
A Final Word
I want to leave you with some final words. Regardless of whether you follow these wash and go steps, how you style, your length, texture, and curl pattern are unique to you. God broke the mold when He created you!
Please don’t compare your results to another. No head of hair is the same. Try different products and techniques. With practice makes perfect. The wash and go steps shared above will help you hone in on what works best for your curls.
Your fine hair may be breaking for a reason you haven’t spotted yet. Take → The Breakage Detective


